
So, you’ve finally toppled Zoh Shia in Monster Hunter Wilds’ first big title update, and you’re absolutely drooling over that breathtaking armor set and those sleek, wickedly powerful weapons. I get it — the fight itself is a cinematic masterpiece, a total showstopper that had me gripping my controller like my life depended on it. But then the credits roll, you head back to camp, and reality hits: where in the world did Zoh Shia go? You can’t just select an optional quest and waltz right back in. Let me tell you, as someone who spent a full evening in 2026 still hunting this beauty, it can drive you a little nuts. But don’t worry, I’ve got your back with the absolute best ways to make that majestic monster reappear without losing your mind.
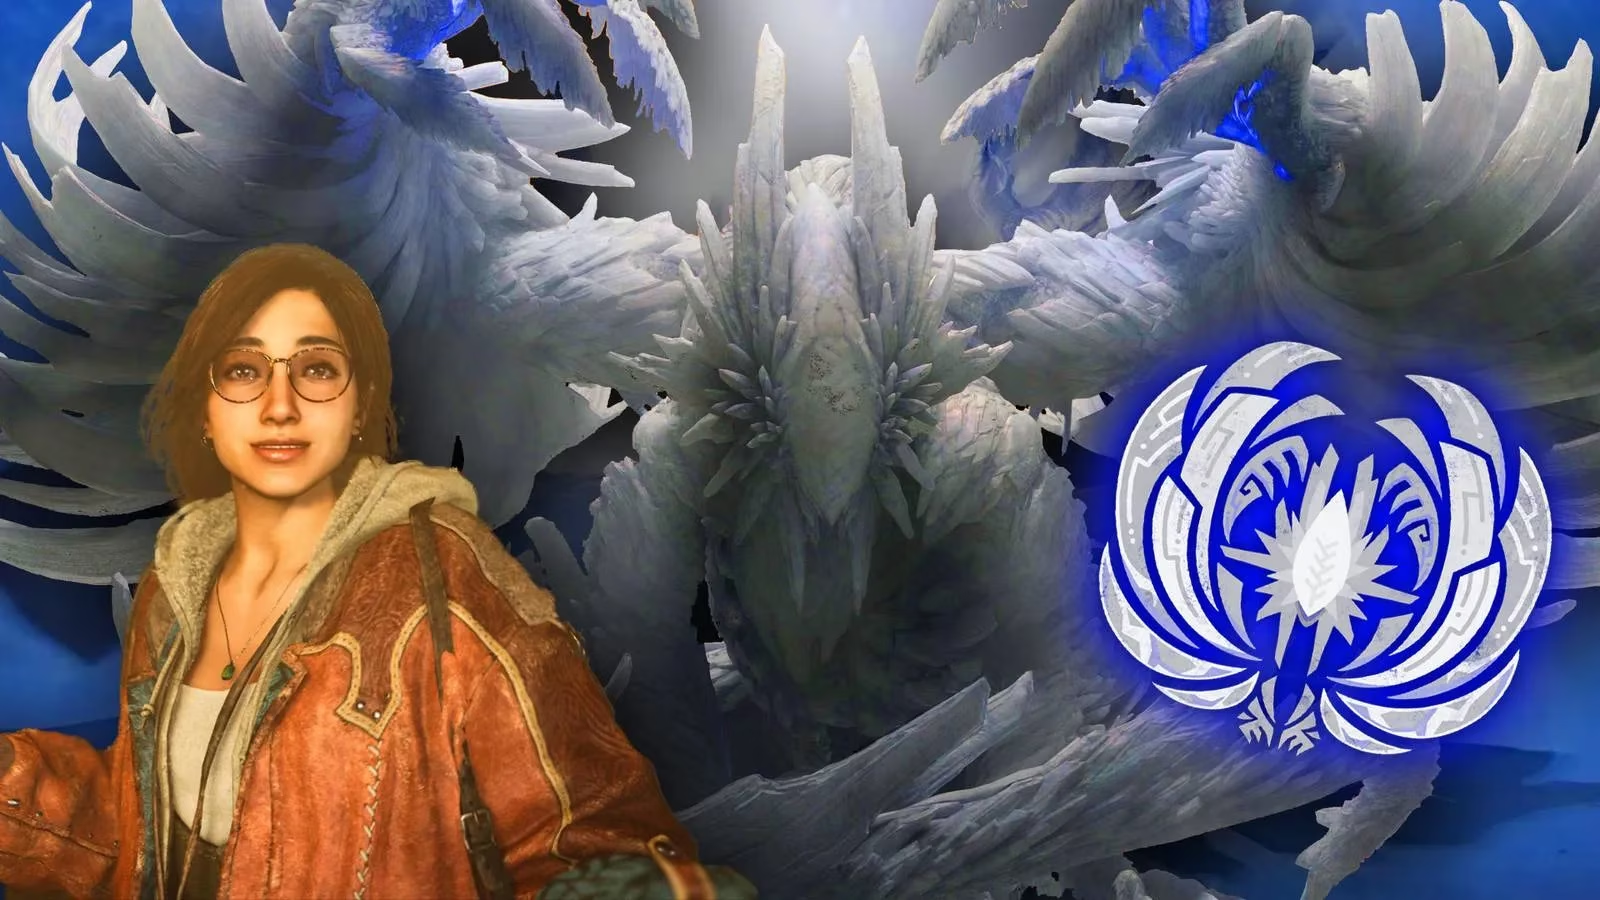
Why Zoh Shia Plays Hard to Get
Monster Hunter veterans will remember the old siege-style battles — think Kulve Taroth or Safi’jiiva — where you couldn’t just spam the same quest over and over. Zoh Shia follows that tradition, but with a twist. After you finish the title update’s special assignment and deliver the final blow, the monster essentially vanishes from your quest board. There’s no cozy little “Slay Zoh Shia” optional quest waiting for you, unlike that flashy tempered Mizutsune everyone’s been talking about. Instead, Zoh Shia behaves exactly like Jin Dahaad: it shows up randomly as an available quest in the Ruins of Wyveria, tied to specific weather conditions. And let me be honest — sitting around praying for an Inclemency is about as fun as watching paint dry.
You might think, “Great, I’ll just rest at camp and cycle the weather!” And technically, you can. Plop yourself down at any camp in the Ruins of Wyveria, set the environment to Inclemency, and cross your fingers. The problem is, even with the right weather, Zoh Shia’s appearance is still a rare dice roll. I once rested twelve times in a row — twelve! — and saw nothing but a bunch of regular monsters giving me the side-eye. It’s enough to make you want to throw your Seikret into a river. The randomness is by design, making each encounter feel special, but when you’re hunting for that one last gem, “special” can quickly turn into “infuriating.”
The SOS Flair Rescue: Your Fastest Ticket to a Hunt
Here’s the game-changer that finally saved my sanity. Head over to Alma’s quest menu and scroll down to the SOS flare section — you know, the one many of us ignore while we stubbornly go solo. Filter specifically for Zoh Shia investigations, and bam, a whole list of hunts hosted by other players pops up (most of the time). This is hands-down the most reliable way to farm the monster right now, and I can’t stress this enough: you’ll want to be lightning-fast with that mouse or controller. Seriously, I’ve clicked on more “Quest is already full” messages than I care to count. The demand is insane, and slots fill up quicker than a canteen during a meal promo.
Why investigations, you ask? Because they offer bonus rewards — extra materials, decorations, and sometimes those elusive gems that make your armor truly sing. Plus, players hosting investigations are often folks who already know the fight inside out, so you’re less likely to cart in the first two minutes. I joined one where a hunter perfectly flash-bombed Zoh Shia out of its big charged attack, and I just sat there feeling like I’d stumbled into a masterclass. If you’re quick enough to snag a spot, you’ll walk away with way more loot than a lone, random encounter.
Prepping Like a Pro: Don’t Be the Hunter Who Faints First
Getting into a quest is only half the battle. Zoh Shia in its post-game form hits like an absolute freight train, and if your gear is still that mixed set you threw together while leveling, you’re going to have a bad time. I learned this the hard way when I confidently jumped into my first high-rank hunt and got one-shotted by a sweeping beam attack. Talk about a wake-up call.
Before you even think about joining an SOS, make sure your armor is fully reinforced. I’m talking armor spheres poured into every piece until the defense numbers look respectable. Then spice things up with some kitchen magic: eat a meal that grants Defense Up (L) or Moxie if you’re feeling spicy. I also swear by Mega Armorskin and Mega Demondrug potions — they last the whole hunt and turn you from a squishy pin cushion into a proper tank. If you’ve got the decoration slots, slot in some defensive gems like Divine Blessing or Stun Resistance. Trust me, nothing is more embarrassing than getting stunned and carted while your team watches.
Here’s a little table I wish I’d had when I started farming:
| Preparation | Effect | Personal Tips |
|---|---|---|
| Reinforced Armor | Bumps defense to survive heavy hits | Aim for at least 450+ defense — weak spots hurt less |
| Mega Armorskin | +25 defense until faint | Drink before the quest; lasts forever unless you cart |
| Mega Demondrug | +10 attack until faint | Pair with Might Seed for a temporary extra kick |
| Divine Blessing | Chance to reduce damage | Even level 2 can save your life more times than you’d think |
| Palico Plunder | Gathers extra materials during hunt | Complete the related side quests to enable this — totally worth it |
Should You Go Solo or Bring Friends?
There’s a strategic choice here. If you’re confident in your dodging skills and want maximum materials, hunting solo or with a single trusted friend can pay off big time. Why? Because your Palico turns into a little loot goblin—if you’ve completed the optional quests that unlock its Plunder skill, it’ll snatch extra monster parts right out of Zoh Shia’s glowing hide. I once came back from a solo run with a Mantle I wasn’t even expecting. That fuzzy little thief is more useful than any random Hunter who forgets to bring lifepowder.
On the flip side, a full group of four can break parts faster and stagger the monster relentlessly, which means more carves overall. It’s a trade-off: more consistent part breaks versus the bonus materials your Palico swipes. I usually mix it up depending on my mood. After a long day, nothing beats the chaos of a four-man hunt where everyone knows what they’re doing—the monster barely gets to stand up. But when I’m grinding for a specific plate or gem, I go solo, let my Palico do its thing, and pray to the RNG gods.
Keeping Your Cool When the Quest Board Fails
Even with the SOS method, there will be moments where the list is empty, and you’re staring at a blank screen wondering if the entire universe has already finished farming Zoh Shia. In those moments, resist the urge to blindly rest at camp a hundred times. Instead, do a little housekeeping: check your investigation board to see if you’ve accidentally saved an old Zoh Shia hunt and just forgotten about it. I had one sitting there for three days before I noticed—felt like finding a twenty in an old jacket. Each saved investigation gives you up to three additional runs, so never delete them carelessly.
Also, keep an eye out for future title updates. By 2026, Capcom has a track record of tweaking monster availability, and the community is already buzzing about potential event quests that might put Zoh Shia on a fixed schedule. Until then, patience and speed are your best friends. Oh, and if you’re really desperate, join a Monster Hunter Discord community—players often announce when they’re hosting a Zoh Shia session, and you can coordinate rides without the public queue heartbreak.
Zoh Shia might be a diva that refuses to show up on demand, but that makes every successful hunt feel like a genuine achievement. There’s nothing quite like watching that glorious beast fall while you’re wearing half its family as a hat. So polish your weapon, grab those potions, and get ready to click faster than you ever have in your life. Happy hunting, and may your material drops always be the ones you need—because goodness knows, the desire sensor is real.